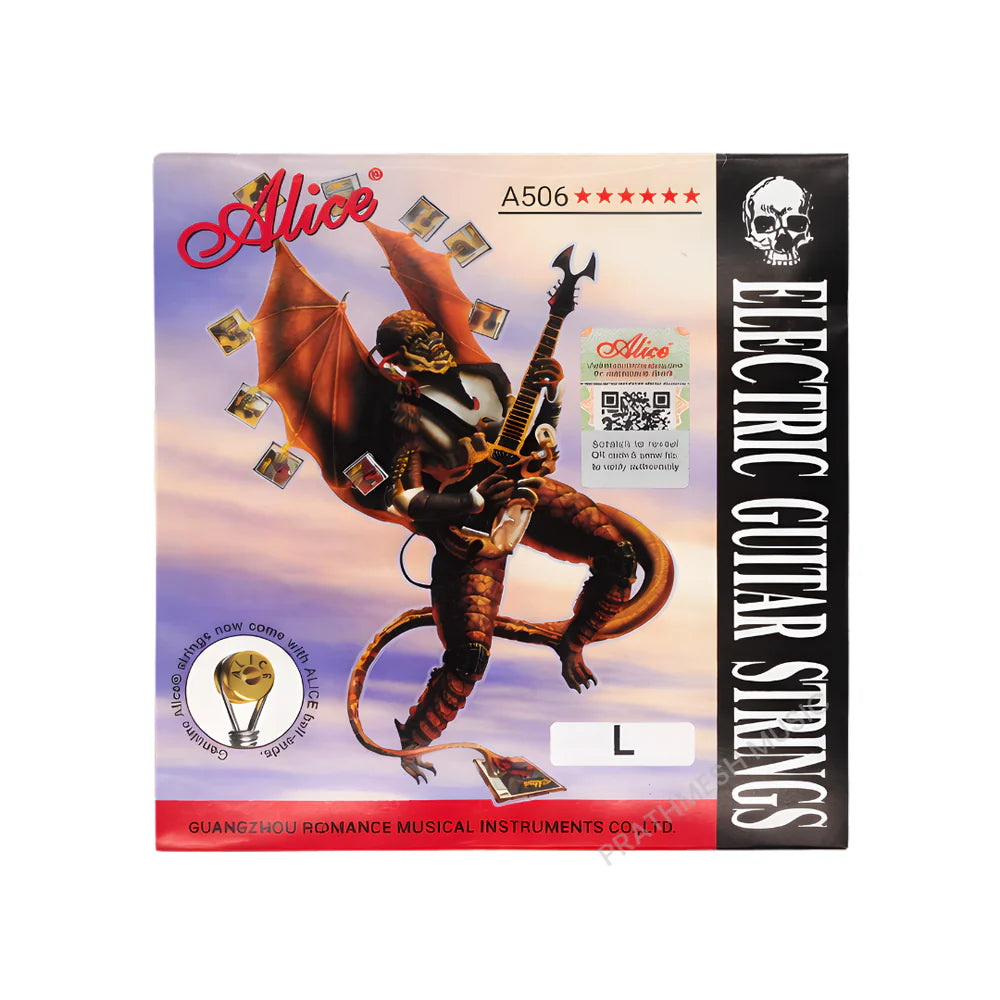
Alice A506-SL Electric Guitar Strings - .009-.042
Recommended Add-ons
Couldn't load pickup availability
Pickup available at Khadakpada
Usually ready in 24 hoursPairs well with
Free Delivery
Expert Support
Trusted Quality
Alice A506-SL Electric Guitar Strings - .009-.042
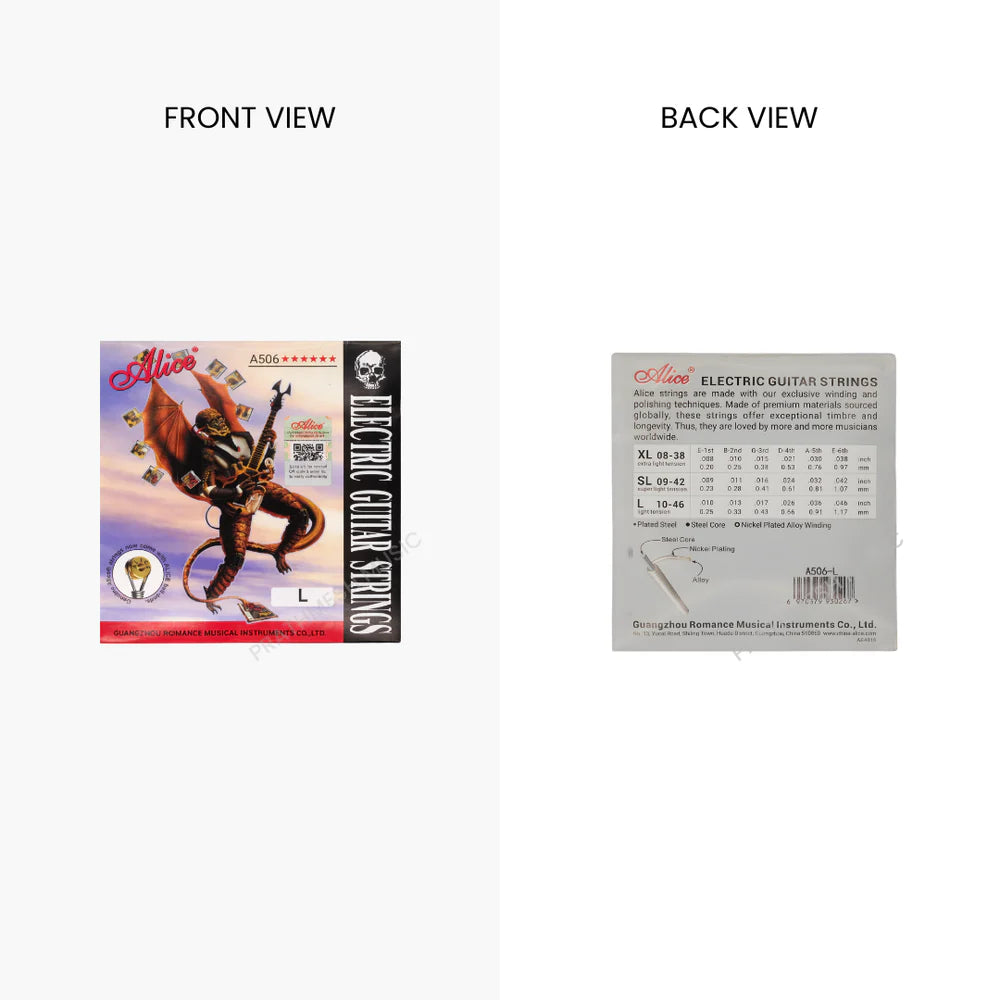
Tech Specs
Description
Product Overview
The Alice A506-SL Electric Guitar Strings - .009-.042 are designed for electric guitarists who value effortless playability, bright tone, and smooth string response. Featuring a light gauge configuration, these strings are ideal for players who enjoy easy string bending, fast fretboard movement, and comfortable finger action during long practice sessions and performances.
The .009-.042 gauge is one of the most popular choices among electric guitar players because it offers a perfect balance between flexibility and tonal clarity. Whether you're learning your first solos, playing lead guitar in a band, recording in the studio, or performing on stage, these strings provide the responsiveness needed for expressive playing and accurate articulation.
Suitable for a wide range of musical styles including rock, pop, blues, worship, metal, indie, and contemporary music, the Alice A506-SL strings deliver reliable performance and a vibrant electric guitar sound that inspires confidence in every playing situation.
Key Features
• Light gauge .009-.042 string configuration
• Designed specifically for electric guitars
• Bright and articulate tonal response
• Smooth feel for comfortable playing and string bending
• Suitable for lead, rhythm, and solo guitar techniques
• Ideal for practice, recording, and live performance
Performance & Sound
The Alice A506-SL strings are engineered to provide a bright, clear, and dynamic electric guitar tone with excellent note definition. The lighter gauge allows players to execute bends, vibrato, and fast lead passages with less effort, making them particularly popular among lead guitarists and developing musicians.
These strings offer balanced performance across clean and overdriven tones, allowing chords to sound crisp while maintaining clarity during solos and melodic passages. Whether you're playing rock riffs, blues leads, worship music, pop arrangements, or contemporary guitar styles, they provide the versatility required for modern electric guitar performance.
The responsive feel also helps reduce finger fatigue during extended practice sessions, making them a practical choice for students and active performers alike.
Build Quality & Design
Designed for dependable everyday use, the Alice A506-SL strings are built to deliver consistent performance and reliable tuning stability. Their construction supports smooth fretboard navigation while maintaining tonal balance across all strings.
The light gauge setup promotes comfortable playability, especially for beginners and intermediate players who are developing finger strength and technique. Whether used for daily practice, studio sessions, rehearsals, or stage performances, these strings offer reliable durability and performance.
Who Is This For?
• Beginner electric guitar players
• Music students and learners
• Lead guitarists who prefer light gauge strings
• Intermediate and advanced electric guitar players
• Studio recording musicians
• Live performers and band members
• Players who enjoy effortless bends and fast playing
Why Buy From Prathmesh Music?
• Trusted Music Store Since Years
• Genuine Products
• Expert Guidance
• Secure Packaging
• Pan India Shipping
• Dedicated Customer Support
Conclusion
The Alice A506-SL Electric Guitar Strings - .009-.042 are an excellent choice for guitarists seeking smooth playability, bright tone, and reliable performance. Their light gauge design makes them ideal for lead playing, expressive bends, and comfortable practice sessions, while their versatile tonal character suits a wide range of musical genres. Whether you're learning, recording, rehearsing, or performing, these strings provide the quality and responsiveness needed to bring out the best in your electric guitar.
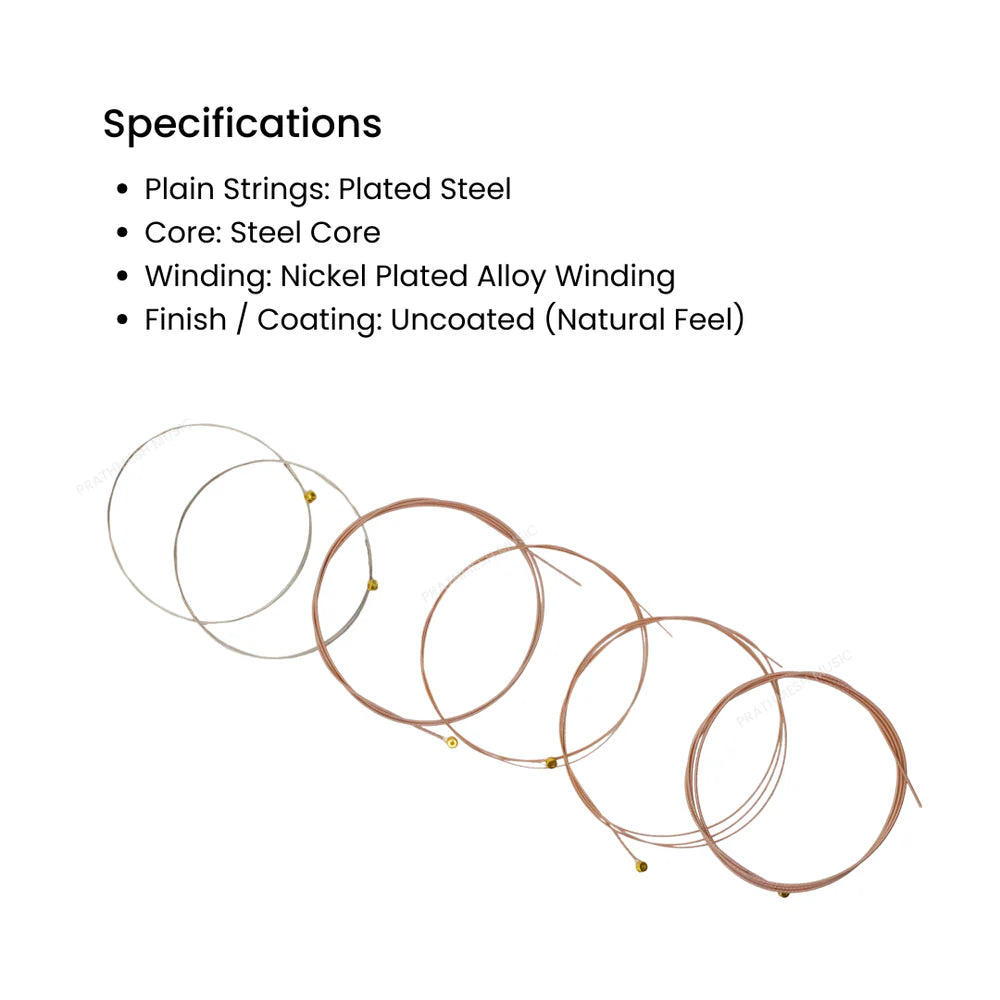
Specifications
If you have any questions, you are always welcome to contact us. We'll get back to you as soon as possible, within 24 hours on weekdays.
-
Shipping Information
Use this text to answer questions in as much detail as possible for your customers.
-
Customer Support
Use this text to answer questions in as much detail as possible for your customers.
-
FAQ’s
Use this text to answer questions in as much detail as possible for your customers.
-
Contact Us
Use this text to answer questions in as much detail as possible for your customers.
FAQs
Please read our FAQs page to find out more.